


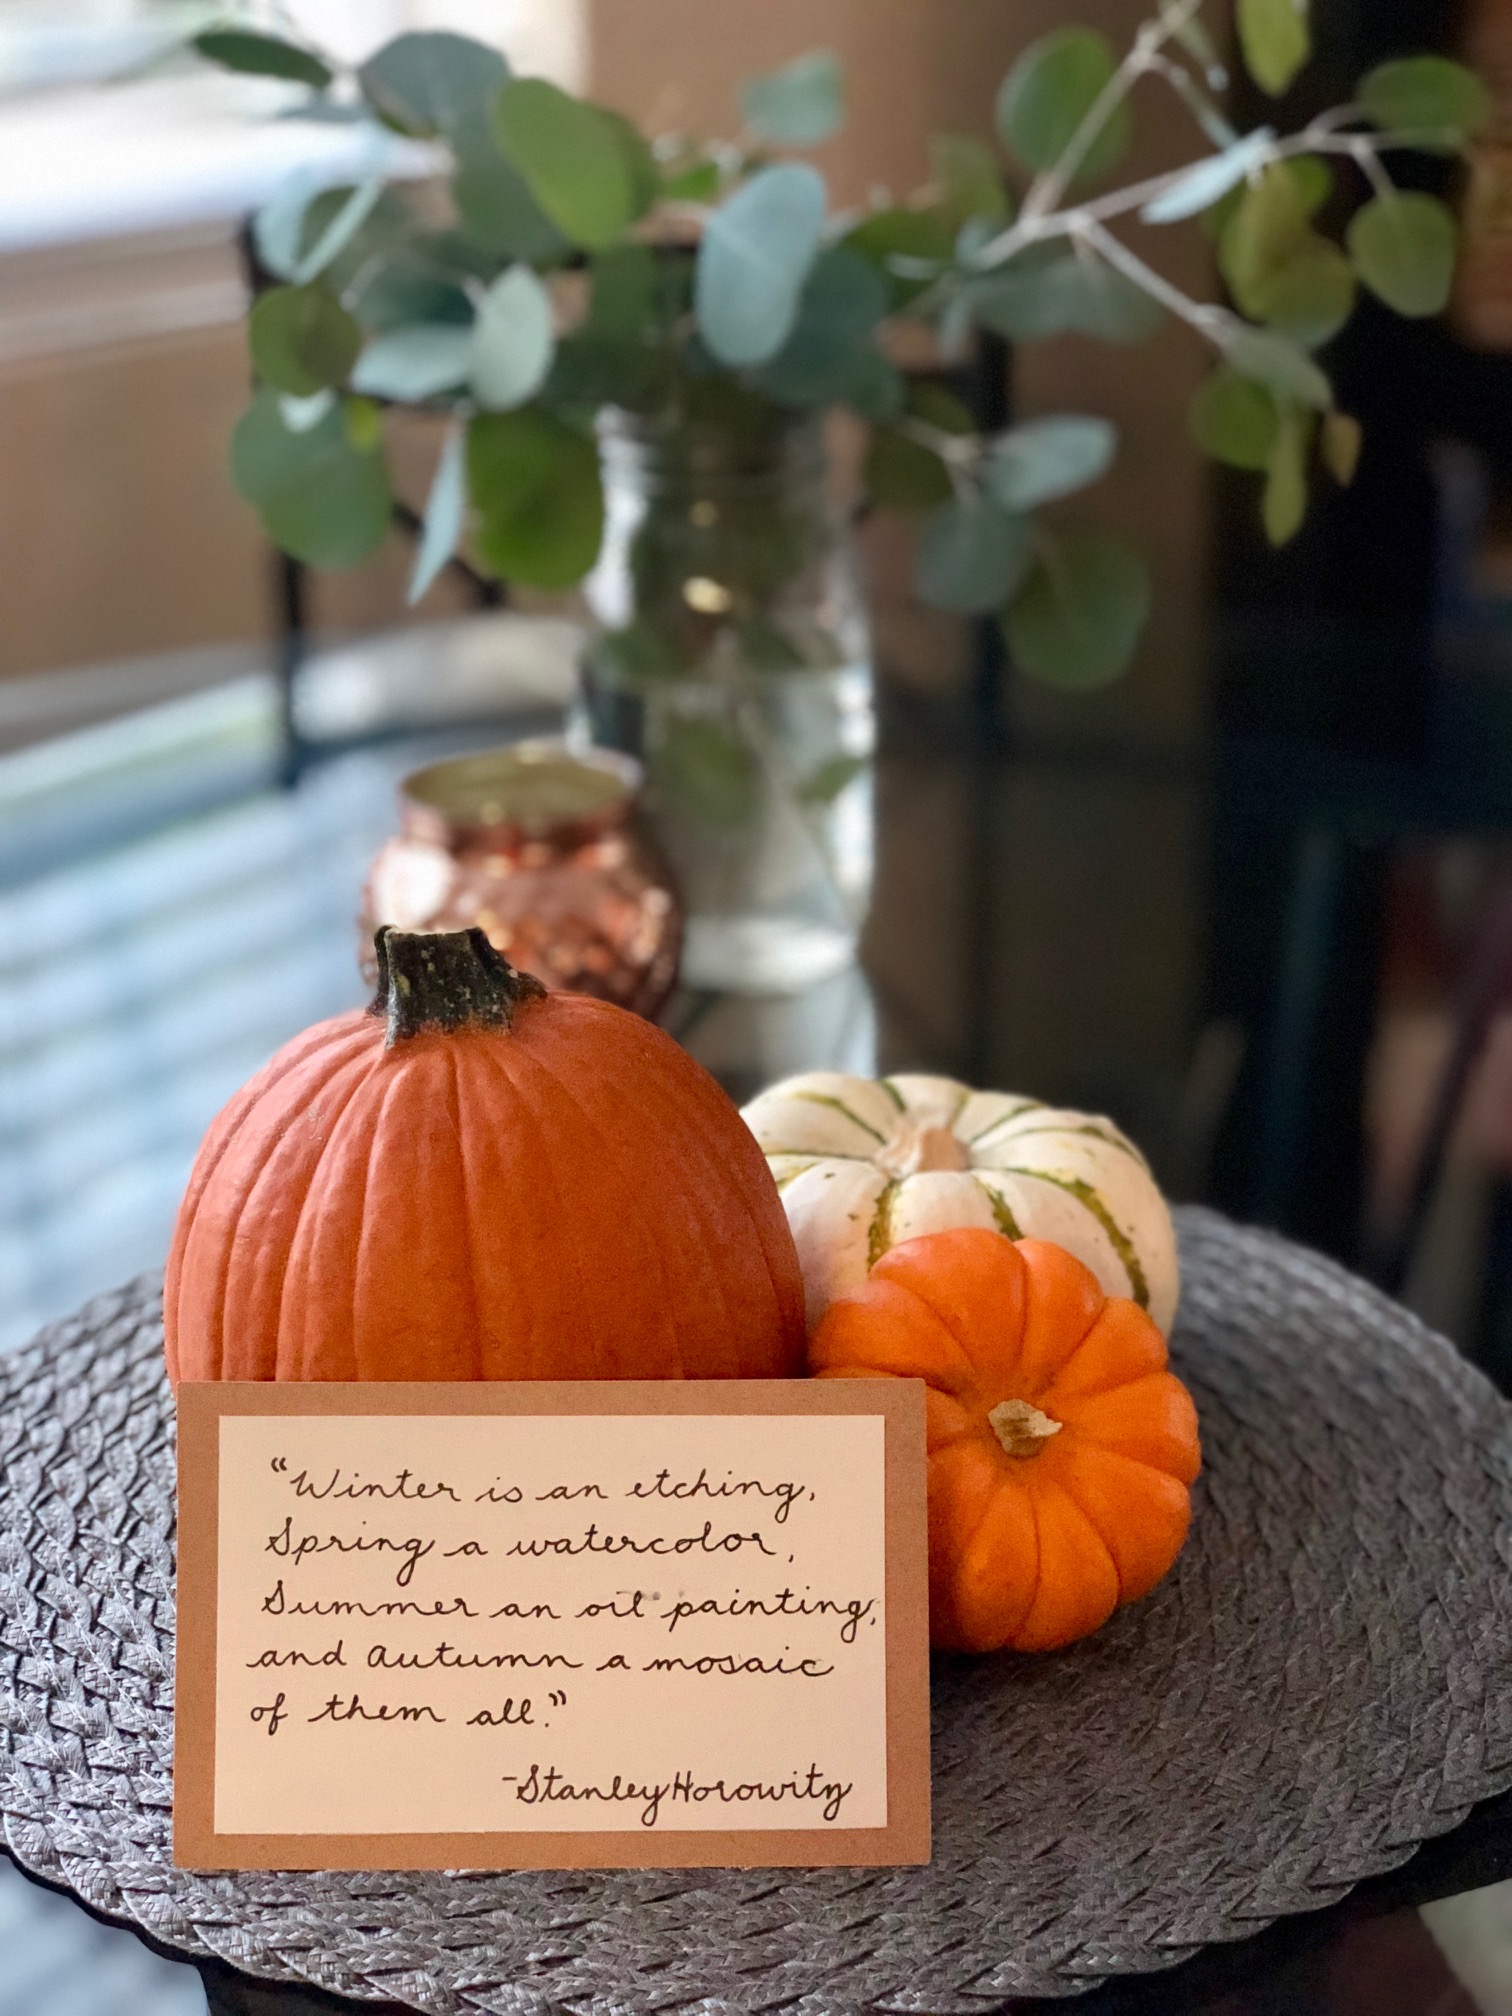


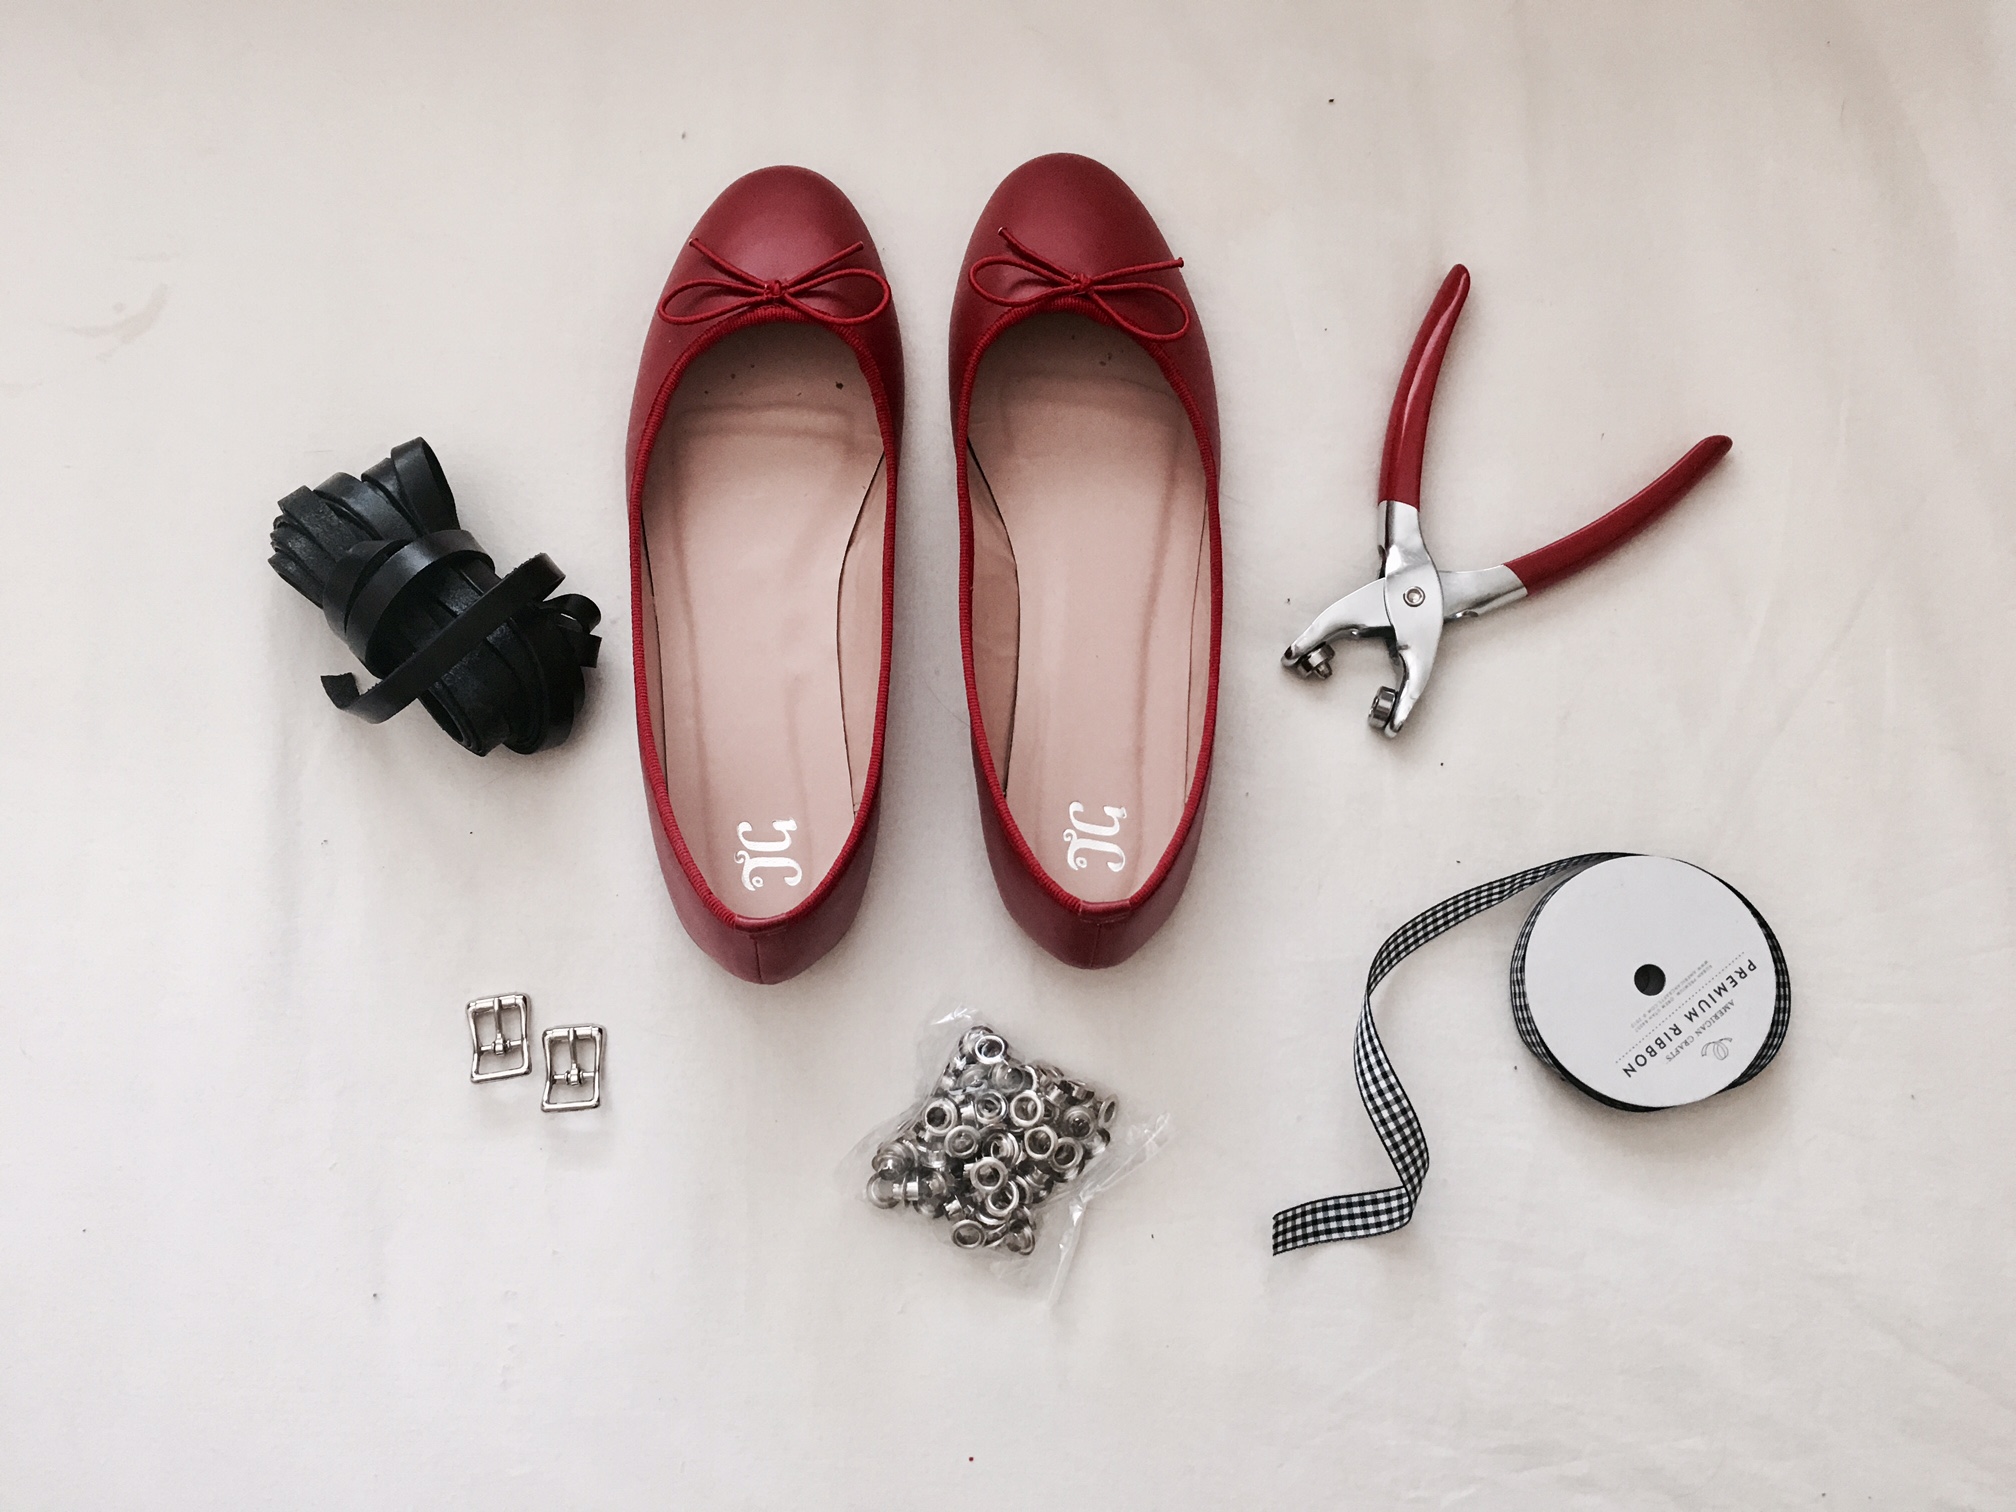
DIY Miu Miu Lace-Up Ballerina Flats
I'll be honest, the first time I saw the Miu Miu lace-up ballet flats, I thought they were some of the ugliest shoes I'd ever seen. "Why would you take perfectly nice flats and put straps and ribbons all over them?!" I thought. But then, as is the case with numerous trends (I'm looking at you, overalls), I once again started seeing fashion bloggers styling them in really cute ways and then started to actually look cute.
If I'm being frank with you, they're almost one of those things that are so ugly, they're cute, like Birkenstocks or pugs. I especially loved them in red on my fave Youtuber, Ingrid Nilsen. But ain't no way I was about to drop $700 on a pair of shoes! I fully support spending a little bit more on classic "investment" pieces that are timeless and will last forever, but trendy ballet flats with gingham ribbon and leather straps are the exact opposite of what I would consider an investment piece.
The more I looked at them, the more I thought, I could probably just make those! So I did some Googling and turns out, I'm not the first person who's tried. So I pulled ideas from here and here and then I got to work on purchasing materials.
What you'll need:
-
a pair of simple ballet flats (I used these)
-
ribbon of your choice; you'll want about 3 meters worth
-
leather hole puncher
-
grommets (mine came in a set with the leather hole puncher)
*Note: I ended up not using the buckles, but you can add them if you want.
Steps:
-
Cut two pieces of ribbon to about 50 inches in length.
-
Using either a hot glue gun or super glue, blue the ribbon onto the inner arch of the shoes. I personally used a hot glue gun for this part.
-
Cut the leather ribbon to the length that it takes to go across the top of the flats all the way down either side. I'm not going to give you measurements for this part because everyone's will be different. I highly recommend measuring this with your foot inside the flat, as you'll need a little extra space once you're actually wearing them. Also, keep in mind that the first and second strap on each shoe will most likely not be the same length, as they go across different widths. Again, it's best to do while wear, that way you know exactly how long to make it. Give yourself a tiny bit of extra slack once your foot is inside, as the grommets will also take up space.
-
Once you have your 4 leather straps cut to the appropriate length, use a white paint Sharpie or some other writing tool that will show up on black and mark off where you would like the grommets to be placed using small dots on the back of the strap (the rough side). For this part, I honestly didn't bother with measuring the increments off. I just sort of eyeballed it, but you can certainly measure, if you'd like.
-
Once you've marked where all of the grommets will be placed, use your leather hold puncher to make holes over each dot. This part required more muscle than I currently have, so if you don't have strong arms, you may need a friend to help.
-
Place your silver grommets through each hole and clamp them flat into place.
-
Now that all of your grommets are placed and clamped down, all you need to do is glue the leather straps across the shoes. Again, put the shoe back on while you do this, so you make sure to give your foot enough room. I learned this the hard way and ended up stabbing my foot with the back of a grommet. For this part, I used super glue, as I found it to be much more adhesive and it doesn't clump up or get stringy like hot glue.
And there you have it! You just made yourself some custom designer-looking shoes for a fraction of the price. And the nice thing about these are that you can tailor them to exactly how you want them, i.e. any color flats, any print/color ribbon, 1 strap, 2 straps, buckles, no buckles, you name it. And no one else will have the same shoes as you, so that's kind of awesome too!
I hope you enjoyed this tutorial. Stay tuned for Monday's post to see how they turned out.
Thanks for stopping by and I hope you have a great day!

